Want to install WordPress to make your website or to start a blog? If yes, you are at the right place. We are here with the detailed steps using which you can easily install WordPress. If you want to install the latest available version of WordPress then these steps will help you in the process.
Step 1: Download the installation package of WordPress
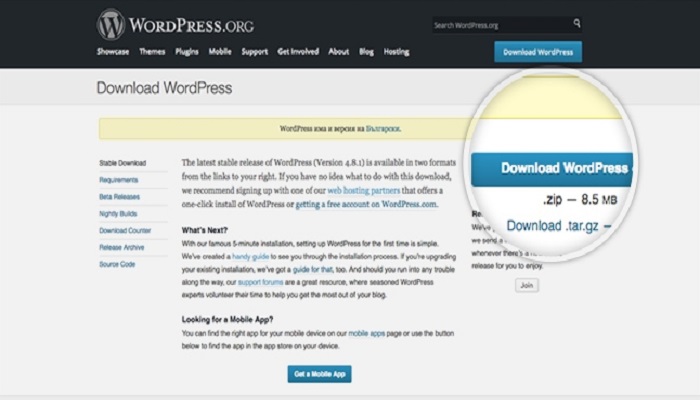
Downloading WordPress is the first step to initiate the installation process. You can visit the official page of WordPress installation for this purpose. It is always advisable that the latest available WordPress version is downloaded. Once the download button is clicked, the package of installation will be downloaded and saved on the hard disk.
After this, you need to locate the package where it has been downloaded and then make a new folder where this package will be extracted.
Step 2: Upload of WordPress files to the server:
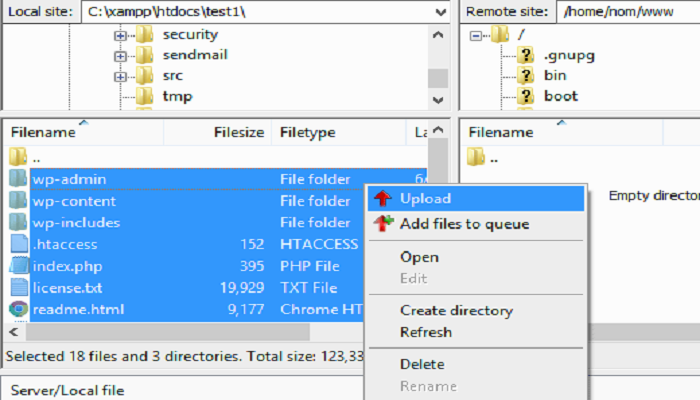
Now, the next step is file upload. The files that have been extracted from the download package are required to be uploaded to the web server. To do the same, the easiest possible way is to use FTP and upload the files.
Step 3: Create a database of MySQL:
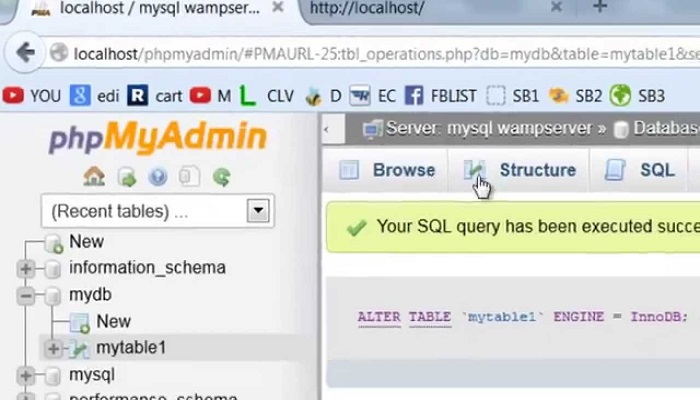
The next step of this process is creation of database of MySQL. After creating the database, a user of MySQL must be assigned and granted with complete permissions. Once the database and user of MySQL have been created, you need to write the name, password and username of the database that has been just created. This will be required at the time of installation.
Step 4: Start the process of installation:
Now the next step is initiating the process of installation by navigating to the website. In case the WordPress has been uploaded in the directory, public_html, you need to enter http://yourdomain.com in the browser.
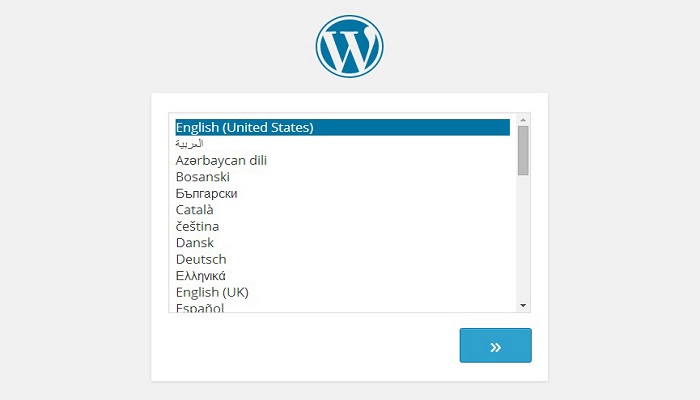
The first thing that will be visible is the window in which the desired language for WordPress has to be selected from the list of available options. After selecting the desired language, click on Continue.
The next page will provide you with a message. Here, you will be asked to organize the information for the process of installation. Since this information is already available to us, you need to click on Let’s Go.
Next, enter details of the database of MySQL that has been recently created and then click on the button of submit.
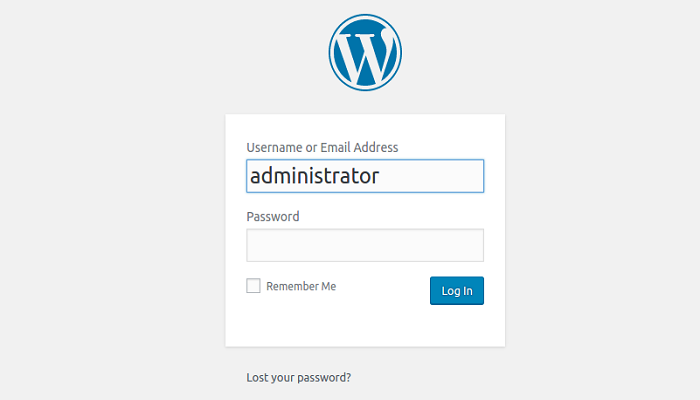
Now, it will be checked by WordPress whether the settings you have done are correct. In case all the required information has been entered, the screen of confirmation will appear. To proceed, press the button of Run the Install. On the next page, the information about the title of site and administrative username has to be entered. To keep the account safe and secure, a strong password must be used. Make use of real email address as this would be required in case you forget the password. Press the button of Install WordPress after filling the information and your installation is done. Access the back-end with the help of login credentials and start with your new WordPress site.
